I cannot tell you how many pairs of my daughter’s perfectly good shoes have had the toe area ruined by what seemed like just a few wears to school! I don’t know what exactly kids are playing at recess these days, but it can sure be frustrating for me to either 1) send Emi to school wearing shoes that look worn out or 2) keep having to buy her new school shoes every month. Let me show you what just a couple of supplies can do to transform scuffed up shoes into beautiful glittery ones!
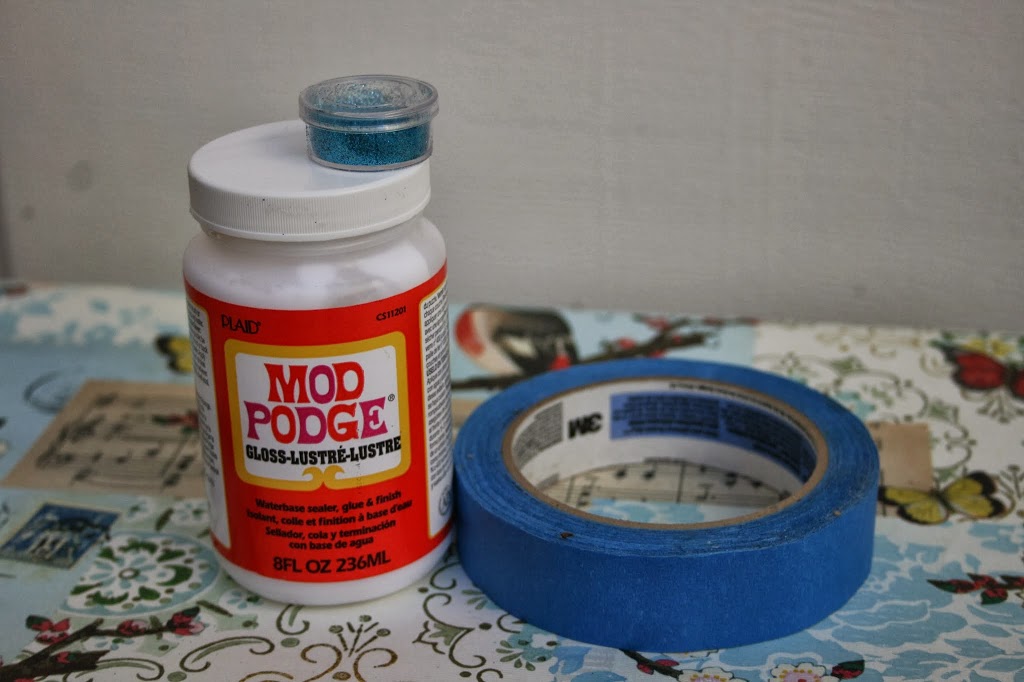
Here’s the supplies you’ll need:
*a bottle of Mod Podge (I buy mine at Michael’s)
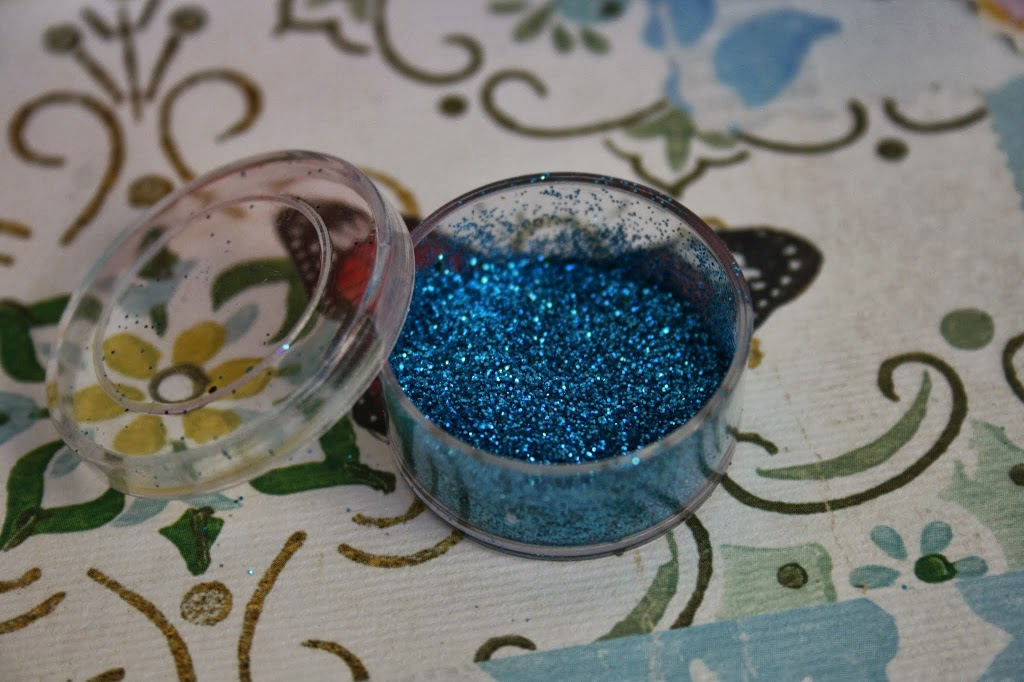
*a container of glitter (Since Emi’s favorite color is blue, I chose a pretty aqua blue glitter.)
*a roll of painter’s tape. (I like 3M brand. The skinny width is easiest to use for this project.)
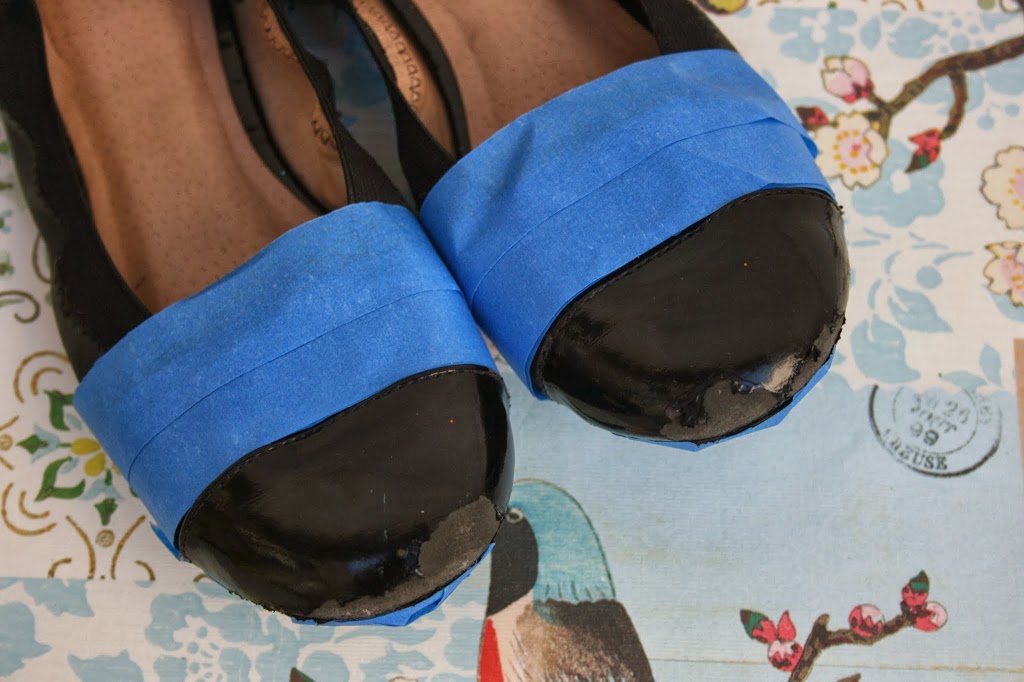
The first thing you need to do is tape up the shoes around the area you’ll be adding glitter to. Don’t forget to do part underneath the glittered area too, which is part of the sole.
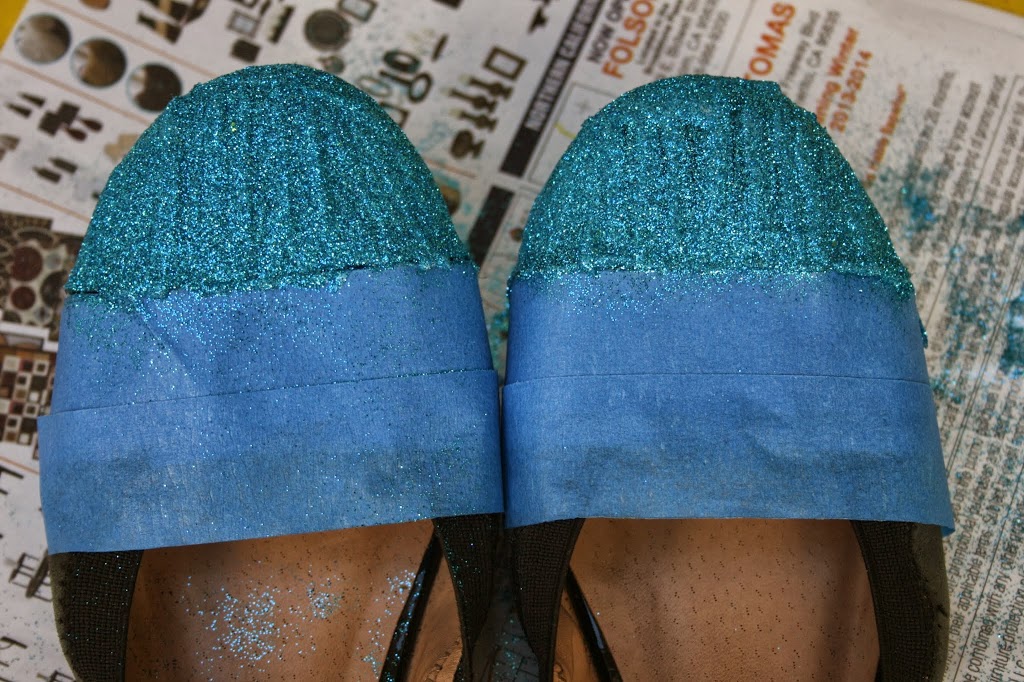
Next, apply a coat of Mod Podge to the exposed area with a paintbrush.
After this, sprinkle glitter over it while it’s wet, shake off the excess glitter, and allow it to completely dry for about 12 hours.
At this point you’ll need to apply another coat of Mod Podge, this time over the glittered area and again, allow it to completely dry for another 12 hours. **VERY IMPORTANT I forgot to take a picture of this part, but don’t forget to do this 2nd coat!
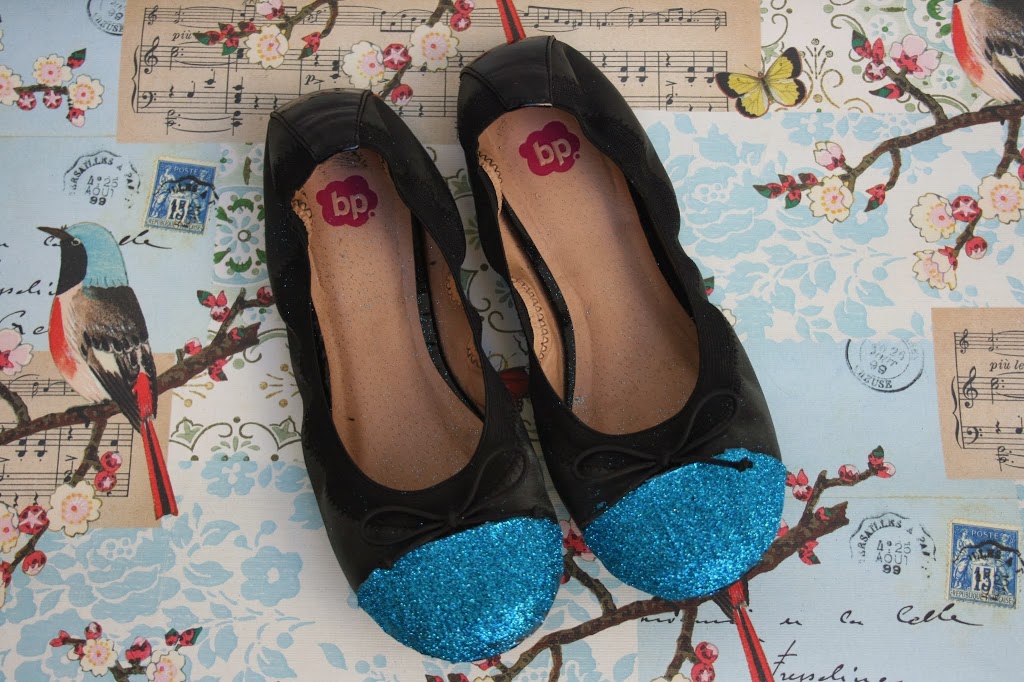
Afterwards, remove the painter’s tape and the shoes will be ready to wear!
How cute did these turn out? I feel like one of Cinderella’s step sisters, trying to cram my own feet into them so I can wear them!
The entire project was so simple and I think these are Emi’s new favorite pair of shoes!
Now I’m wanting to make a pair for ME! What color glitter do you think I’ll choose? If you know me well enough, you’ll easily answer that question!


These are so cute! It’s awesome that you restored beat up shoes, and it’s like buying a whole new pair of shoes.